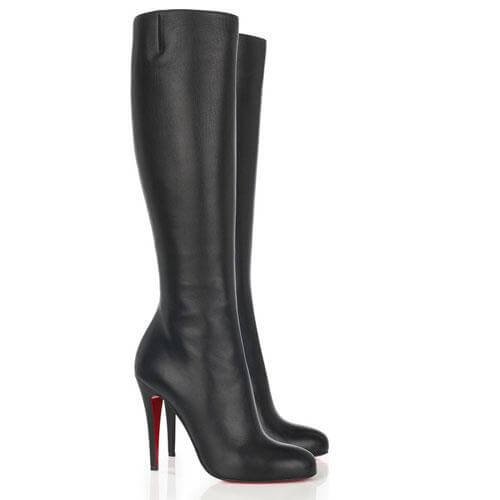
How to Clean Leather Boots

How to Clean Leather Boots

So you finally bought those expensive leather boots that you were looking at, but now that you have worn them a few times, they are starting to look a little dirty. Taking care of your boots is more than just keeping them clean, a well maintained boot is essential to making them a long-lasting member of your wardrobe. Even with older boots, proper cleaning and polishing can make them look like you just bought them yesterday. Note: You can use this guide for leather shoes as well.
Things you will need:
- soft brush
- clean rags
- buffing brush, or shammy
- shoe cream or polish
- leather conditioner
- all-weather spray or cream
It is possible to substitute most of the materials used to apply the conditioners and creams with an old soft T-shirt, however, there are full cleaning kits available that include everything you will need.
1. Brush off any dirt or other residue

Take a soft brush and remove any dirt of residue from the boot. A soft brush will prevent scratches from forming. For resistant areas, use a damp cloth with some soap. if you have salt stains, mix half and half water and vinegar and dab the area with a cloth, then use water to wipe clean.
2. Apply a conditioner
Using a soft sponge, apply a leather conditioner to the boot. This is important to keep the leather from drying out. Allow at least twenty minutes for the conditioner to soak into the boot, however an hour is recommended.
3. Clean off any excess conditioner
Use a soft brush or rag to clean off any of the excess conditioner that was not absorbed into the boots.
3. Apply a polish or cream
After applying the conditioner, evenly add a layer of polish or shoe cream to the boots using a soft applicator or rag. The choice between shoe cream and shoe polish is up to you. Shoe cream penetrates deeper into the leather than polish, however, polish will give your boots a greater shine. Ensure that you are using the proper color on your boots, which should be tested on a small inconspicuous area first. Use a Q-Tip to get into hard to reach places, and around the seams. Once the boots are polished, give the coat roughly 15 minutes to dry. Depending on the condition of the shoes, a second coat might be recommended.
4. Clean off any excess polish
Using your soft brush, or a rag, clean off any of the excess polish or cream that was not absorbed into the boots.
 5. Buff to a glossy shine
Use a buffer brush, a clean soft rag, or a shammy to buff. Rub the boot in a continuous circular motion until the boot begins to shine.
6. Apply weather resistant cream or spray.
Finally, once the boots are fully cleaned, conditioned, polished, and buffed to a shine, they are ready to wear. To add another layer of protection, however, an all-weather cream or spray should be applied about once a week. Using a spray or cream is simple, and can help keep water and other elements from soaking in and ruining the leather.
Congratulations! Your boots are clean, shiny, renewed, and looking brand new. Keeping a consistent cleaning schedule will help keep your boots in perfect condition. Cleaning regularly is important to prolonging your boot’s lifespan. Good luck, and enjoy your new boots!

